How to Choose a Stained Glass Window Kit in 2026?
Choosing a Stained Glass Window Kit in 2026 requires more than comparing colorful glass pieces. A reliable kit should match your skill level, workspace, design goals, and available tools. Beginners often focus on patterns first. That can be a costly mistake.
A practical evaluation starts with the glass quality, copper foil or lead came, soldering supplies, and pattern clarity. Check whether the glass has consistent thickness and clean edges. Examine the instructions carefully. Are the cutting steps illustrated? Does the package explain ventilation, eye protection, and safe handling? A trustworthy manufacturer should provide material details and responsive customer support.
Your workspace matters too. A small table near a bright window may feel comfortable, but soldering requires controlled ventilation and a stable surface. Consider the finished window’s size, weight, and mounting method before ordering. Some kits look complete but exclude a grinder, soldering iron, safety glasses, or patina supplies. Read the product list twice.
There is no perfect kit for everyone. Even experienced crafters sometimes choose designs that prove too demanding. I would rather select a simpler pattern with excellent glass than a dramatic design with poor instructions. Reviews can reveal recurring problems, but they should not replace manufacturer specifications. In 2026, compare repairability, packaging quality, instructional support, and material transparency. A well-chosen kit should make the process safer, clearer, and more rewarding, while leaving room for honest mistakes and thoughtful improvement.
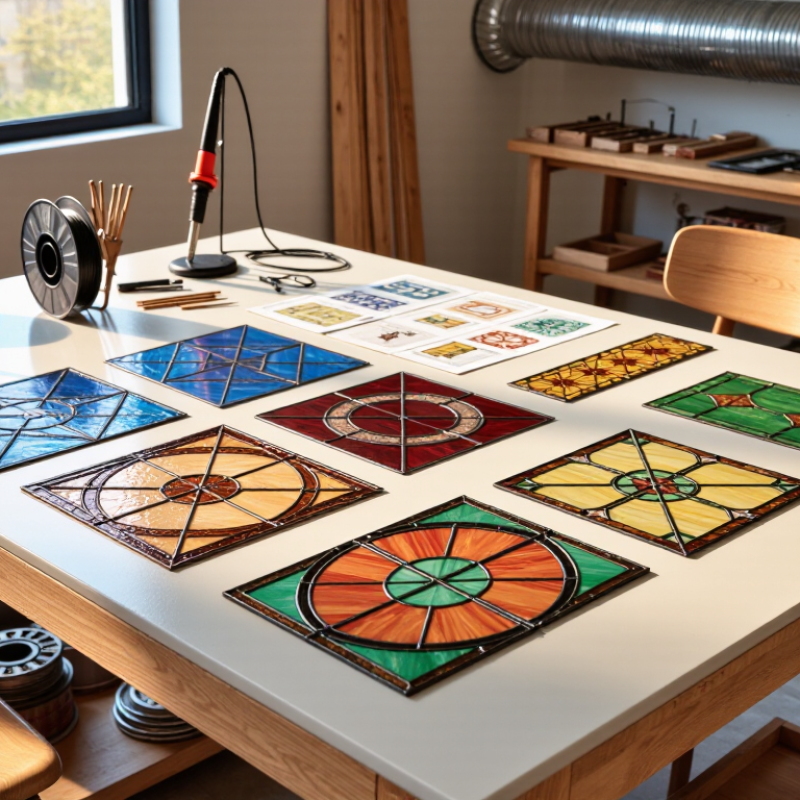
Understanding Stained Glass Window Kits and Their Main Components
A stained glass window kit is more than colored glass in a box. It is a small production system. A useful kit usually includes pre-cut glass, copper foil or lead came, solder, flux, patina, and a pattern. Some sets add a cutter, grozing pliers, burnishing tools, and protective gloves. Check every component before buying.
Grand View Research reported that the global stained glass market was valued at approximately USD 4.2 billion in 2023. Its analysis also projected steady growth through 2030. This expansion reflects renewed interest in handmade interiors and craft learning. However, market growth does not guarantee kit quality. A low-cost set may contain thin foil, brittle glass, or insufficient solder. That can make a beginner’s first project frustrating.
Look closely at the glass thickness and edge preparation. Uniform pieces fit patterns more cleanly. The solder should melt consistently, without excessive smoke from unsuitable flux. Safety matters too. The U.S. Consumer Product Safety Commission emphasizes eye protection and safe handling around sharp materials. Choose a kit with clear safety instructions, ventilation guidance, and realistic project difficulty. A beginner may prefer a small sun catcher, not a full window panel. I once underestimated pattern complexity; the finished joins looked uneven. That mistake was useful. It showed why component compatibility matters more than attractive packaging.
Comparing Glass Types, Tools, Materials, and Kit Completeness
How to Choose a Stained Glass Window Kit in 2026?
Choosing a stained glass window kit starts with the glass type. Cathedral glass gives clear color and changing light. Opalescent glass offers softer light and stronger visual texture. Textured glass can hide small cutting errors, but it may be harder to fit. For beginners, I prefer medium-thickness sheets with simple patterns. Very thin glass feels delicate. Very thick glass can resist clean scoring.
Check the tools carefully. A useful kit should include a glass cutter, running pliers, grozing pliers, and protective eyewear. Some kits include a grinder, but many do not. The same issue applies to copper foil, solder, flux, patina, and polishing materials. Read the quantity, not only the item list. A small roll of foil may not cover a detailed panel. Also inspect the instructions. Clear cutting diagrams can prevent expensive mistakes. They cannot replace practice, though.
Tips: Place the kit contents beside the project pattern before starting. Measure the largest glass piece twice. Test the cutter on scrap glass first. Wear safety glasses and closed shoes. Keep your work surface stable and well lit. A kit described as complete may still require ventilation equipment, cleaning supplies, or extra solder. I once underestimated the value of spare glass. One cracked corner changed the entire layout. That was frustrating, but it also showed why flexible designs are safer for early projects.
How to Choose a Stained Glass Window Kit in 2026?
Typical visible-light transmission ranges by stained glass type
Cathedral glass generally provides the highest light transmission and is suitable when brightness is the priority. Opalescent glass diffuses light and offers greater privacy, while textured glass reduces direct visibility through surface patterns. Iridescent glass is mainly selected for decorative effects. When comparing kits, check that they include compatible glass, a glass cutter, running and grozing pliers, copper foil or lead came, solder, flux, a soldering iron, safety glasses, and clear instructions. These transmission figures are typical ranges because color, thickness, texture, and manufacturer specifications can change the result.
Selecting the Right Kit and Preparing for the Assembly Process
How to Choose a Stained Glass Window Kit in 2026?
Selecting the right kit starts with your workspace, patience, and hand skills. Houzz’s 2024 U.S. Houzz & Home Study reports that 54% of renovating homeowners completed projects in 2023. That interest makes careful project planning more important. Measure the intended window area first. Then choose a design smaller than the available space. A compact pattern reduces cutting errors and limits material waste.
Check the kit’s glass thickness, copper foil width, solder type, and tool list. Beginner kits should include clearly labeled templates and pre-cut pieces. Look for safety guidance covering eye protection, heat-resistant surfaces, ventilation, and hand washing. The U.S. Consumer Product Safety Commission consistently identifies eye and burn hazards among common home-project risks. Read every warning. Do not improvise with damaged tools.
Preparation affects the final appearance more than expected. Cover the table with a nonflammable mat, place glass in separate trays, and keep a damp sponge nearby. Grand View Research’s 2024 arts and crafts market report estimates continued global growth through 2030, reflecting wider interest in hands-on projects. Yet popularity does not equal simplicity. My first practice panel used too many narrow pieces. The pattern looked attractive, but assembly became frustrating. A simpler design would have taught me more. Mark each piece before foiling, test the layout dry, and leave space for small fitting corrections.