Choosing the right Body Kit Audi A3 8p is more than selecting an aggressive front bumper. It requires careful judgement about fitment, materials, safety, and long-term usability. The A3 8P was produced from 2003 to 2013, with several body styles, trims, and bumper designs. A kit made for a Sportback may not align with a three-door model. Small differences matter.
The market is substantial. SEMA’s 2023 Market Report valued United States specialty-equipment sales at $52.3 billion in 2022. This growth reflects strong demand for appearance upgrades, but it also increases product variation and quality risks. Some inexpensive kits use thin fiberglass, uneven mounting points, or poorly finished edges. They may look impressive online. They can become expensive after fitting.
Real inspection starts with the vehicle itself. Measure bumper width, wheel-arch clearance, parking-sensor positions, and exhaust spacing. Check whether the kit supports original grilles, fog lights, and headlamp washers. European safety guidance, including UNECE Regulation No. 26 on external projections, highlights the importance of smooth exterior surfaces. Local inspection rules may also affect lighting, ground clearance, and pedestrian safety.
Do not trust photographs alone. Ask for material specifications, installation images, and verified customer feedback. A reputable supplier should explain ABS plastic, polyurethane, or fiberglass differences clearly. Professional installation is often worthwhile. Even then, perfection is not guaranteed. Paint matching can reveal surprising problems, especially on older vehicles. The best choice balances design, road legality, structural quality, and realistic repair costs.
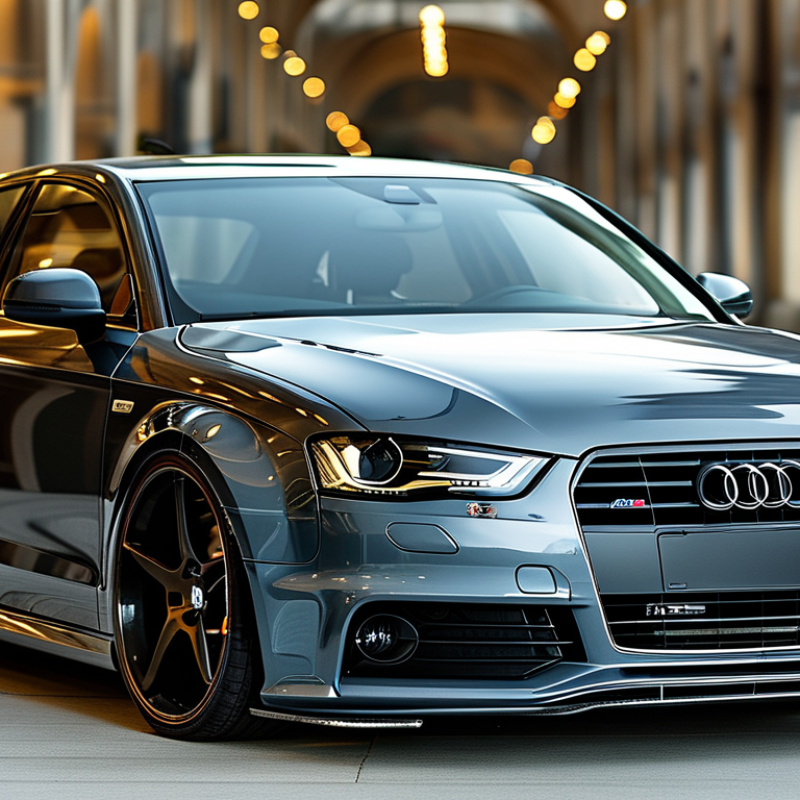
An Audi A3 8P body kit is a group of exterior panels designed to change the car’s shape and appearance. It commonly includes front and rear bumper covers, side skirts, a front lip, and sometimes a roof spoiler. These parts are not engine upgrades. They mainly influence airflow, visual balance, and road presence.
From practical fitting experience, compatibility matters more than aggressive styling. The A3 8P came in different body styles and production updates. A bumper for a three-door model may not align with a Sportback version. Headlight washers, parking sensors, fog-light openings, and exhaust positions also require careful checking. Measure twice.
Most kits use ABS plastic, fiberglass, or reinforced composite materials. ABS usually offers better flexibility for daily driving, while fiberglass may need more sanding and adjustment. A professional installer should test-fit every panel before painting. Uneven wheel gaps or stressed mounting points can become obvious after several months.
I once underestimated a small bracket difference. It created a narrow gap near the headlight. That mistake was avoidable. Check mounting hardware, panel thickness, ground clearance, and local inspection requirements before buying. A well-fitted kit should look integrated, not simply attached.
| Selection Dimension | Relevant Information | Recommended Check | Why It Matters |
|---|---|---|---|
| Vehicle generation | The Audi A3 8P was produced from 2003 to 2013, with body and equipment updates during its production period. | Confirm the production year and whether the car is pre-facelift or facelift. | Bumper mounting points, grilles, lamps, and trim details may differ between versions. |
| Body style | The 8P range includes three-door hatchback, five-door Sportback, and Cabriolet body styles. | Match the kit specifically to the body style, not only to the 8P model designation. | Door count, roofline, rear quarter panels, and bumper geometry affect fitment. |
| Main body-kit components | A complete kit may include a front bumper, rear bumper, side skirts, front lip, rear diffuser, grille, and spoiler extensions. | List the exact components included before purchase. | Some kits are complete packages, while others contain only exterior add-ons. |
| Material | Common body-kit materials include ABS plastic, polyurethane, fiberglass-reinforced plastic, and carbon-fiber composites. | Check the material specification and whether the part is supplied primed or ready for paint. | Material affects flexibility, weight, repairability, surface preparation, and installation requirements. |
| Fitment method | Parts may use original mounting points, replacement brackets, drilling, bonding, or a combination of methods. | Prefer parts that clearly state their mounting method and required hardware. | Clear installation requirements reduce alignment problems and unexpected modification work. |
| Front-end compatibility | The front bumper must correspond with the vehicle’s headlamp layout, grille arrangement, fog-lamp openings, and parking sensors. | Measure the existing bumper and compare all openings and sensor locations. | A visually similar bumper may still require costly changes if openings or mounting points do not align. |
| Rear-end compatibility | Rear bumper design must match the exhaust position, reflector placement, parking sensors, and rear body style. | Confirm exhaust cut-outs and sensor provisions before ordering. | Incorrect cut-outs can affect appearance, heat clearance, sensor operation, and installation safety. |
| Ground clearance | Lower front lips, side skirts, and rear diffusers reduce clearance compared with standard bodywork. | Compare the kit’s lowest point with the vehicle’s current ride height and intended roads. | Reduced clearance increases the risk of scraping on ramps, speed humps, and uneven surfaces. |
| Wheel and tire clearance | A body kit does not automatically change wheel fitment, but wider styling components can visually emphasize wheel position and tire clearance. | Check wheel width, offset, tire size, steering lock, and suspension travel. | The tires must clear the arches and suspension components throughout steering and compression movement. |
| Weight considerations | ABS and fiberglass parts can have different weights; the exact mass depends on the design and construction. | Request individual part weights when vehicle balance or performance is important. | Additional exterior weight can influence installation support, handling response, and fuel efficiency. |
| Surface preparation | Many unpainted parts require test fitting, sanding, filling, primer, color matching, and clear coating. | Include professional preparation and painting in the installation plan. | A correct fit alone does not guarantee a smooth, durable, factory-like finish. |
| Sensor and lighting provisions | Some vehicles have parking sensors, headlamp washers, fog lamps, or other equipment that must be transferred to the new parts. | Verify that the kit provides compatible openings or permits accurate sensor relocation. | Poor sensor positioning may cause false warnings or reduced detection accuracy. |
| Regulatory requirements | Exterior modifications may be subject to local rules covering lighting, projections, ground clearance, noise, and registration inspection. | Check local roadworthiness and modification regulations before installation. | A part that fits physically may not be legal for road use in every location. |
| Best choice for daily driving | A moderate design using durable, flexible materials and near-original mounting points is generally more practical. | Prioritize clearance, repairability, sensor compatibility, and simple maintenance. | Daily-use vehicles benefit from durability and convenience more than extreme styling. |
| Best choice for a show build | More extensive designs may include wider arches, deeper splitters, custom diffusers, and additional aerodynamic details. | Plan professional fabrication, reinforcement, paintwork, and transport clearance. | Show-oriented parts often require more adjustment and may be less suitable for frequent road use. |
Note: Exact fitment should be verified using the vehicle identification details, production year, body style, existing equipment, and the supplier’s installation documentation.
